|
GGE Corp., Limited
2 Floor, B6 Building, 2nd Industrial district, Shi'ao, Langqin Road, Dalang, Longhua, Bao'an District, Shenzhen 518109 China
Tel:+86-755-88257880
Fax:+86-755-88257891
CEP: +86-13244899899
CP: Ms Megan Deng
E-mail: sales@chinagge.com
www.chinagge.com
|
|
| |
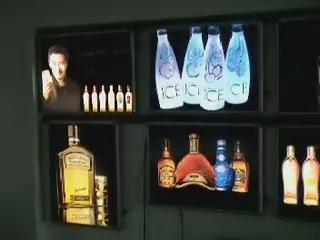
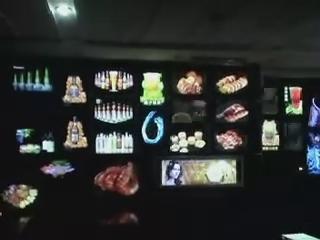
| The best use of light boxes for small and medium object |
|
|
|
Photography is very much dependent on the science of light. What better an idea would be when you are able to create a device which is based on light and offers complete control over the lighting conditions? Such is the magic of simple light boxes. If you are a learner and want to excel in product photography, then light boxes if the training ground of your skills.
Let us learn how to create light boxes with ease. The basic construction of light boxes does not include many elements. Also, they are not going to cost you a bomb. Take it like a college project and you will end up making professional light boxes.
Parts:
•Take a large cardboard box, preferably a thicker one because while working on it will endure the wear and tear in a better. Also, light cardboard will not be able to hold the original shape.
•Several yards of cloth, preferably white because for product shooting, white background is an ideal color.
•Thick and wide double sided tape with high strength (many tapes loses its strength very soon or is not able to hold things together properly).
•Thin double stick tape for smaller areas and fix-ups
•Keep two thin poster boards in place.
•Buy 3 reflective lights which would be your primary lights under which you would be shooting the products. Buy good ones because the chances of them being damaged are high.
•3 light bulbs (you can use 100 watt bulbs for your purpose and to begin with).
Ads by Google
Tools: Keep some of the tools like sharp knife, writing implement, straight edge because they are always handy in making equipment and ideal for light boxes .
Designing the box: In order to allow the light enter from all sides of the box, you will need to cut open three sides of the box. Begin with the sides and leave the top and the bottom the way they are. When you go one to shoot, cover one side with white cloth and use the other side for shooting. You are ready to shoot!
|
| |
|
|


.jpg)